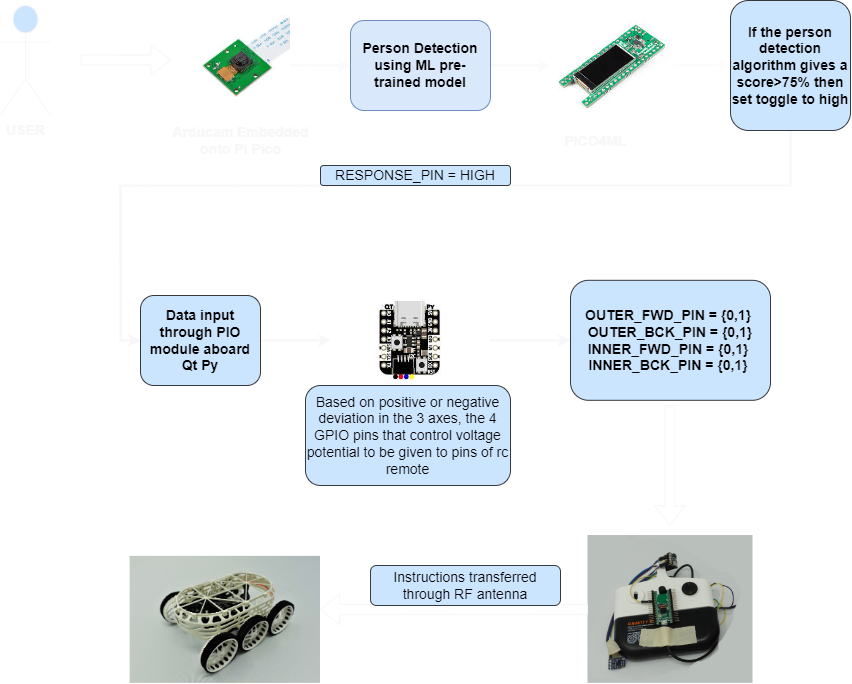
Problem Statement

The objective of this project is to build a prototyping platform, on top of a consumer hardware, using RP2040 based development boards and adapt it to be used in user defined test cases instead of its locked logic configuration. Additionally, the project was envisioned to incorporate higher computational capabilities than the ones it was designed for. This included, but not limited to, usage of Machine Learning algorithms to enable human interaction using tinyML capable boards. The goal was to hack into the blackbox of a simple wall climbing robot and use it's hardware in tandem with our boards to achieve some basic autonomous maneuvering.

Proposed Solution

Components & Circuit Diagram


RP2040-QtPy

RP2040 QtPy

RP2040-Pico4ML

Pico4ML

IMU-ADXL335

ADXL335 IMU

RC-Controller

RC Remote Controller

Gravity-Rover

Gravity-Rover

Challenges

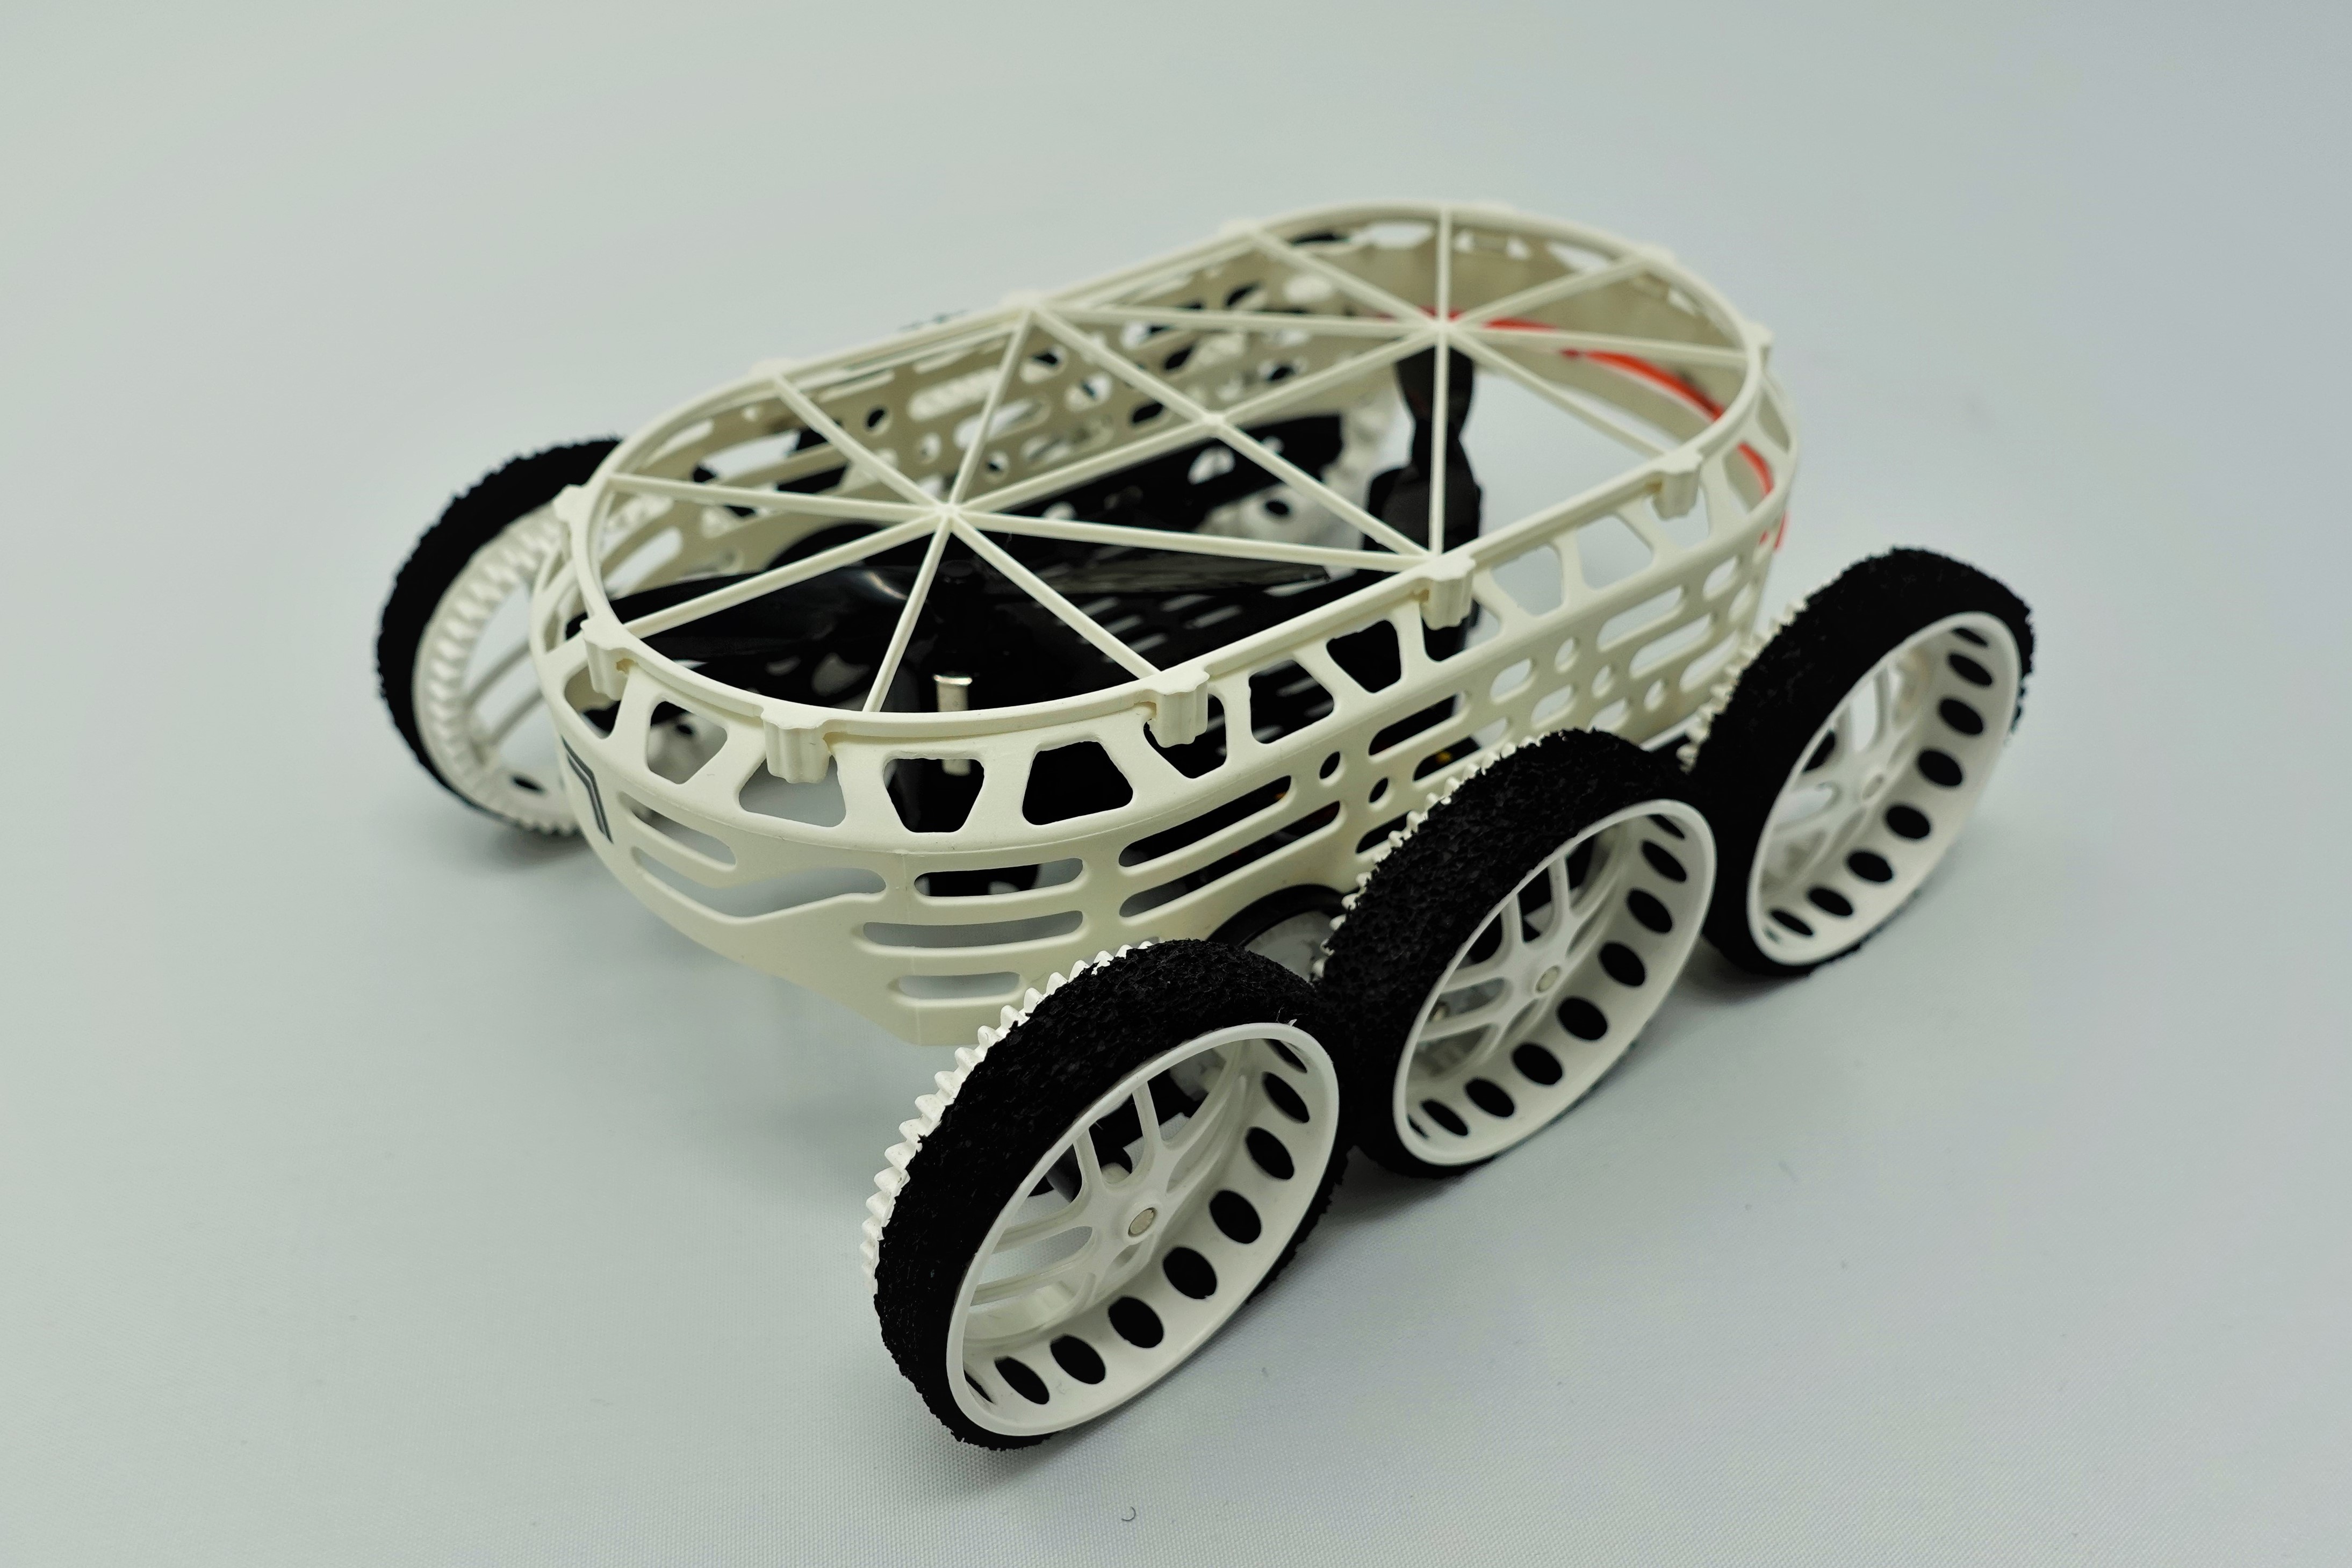
RC car being utilised is equipped with an extremely light chasis to enable wall climbing feature. The drawback associated with this is that the car is incapable of supporting any payload or sensors.
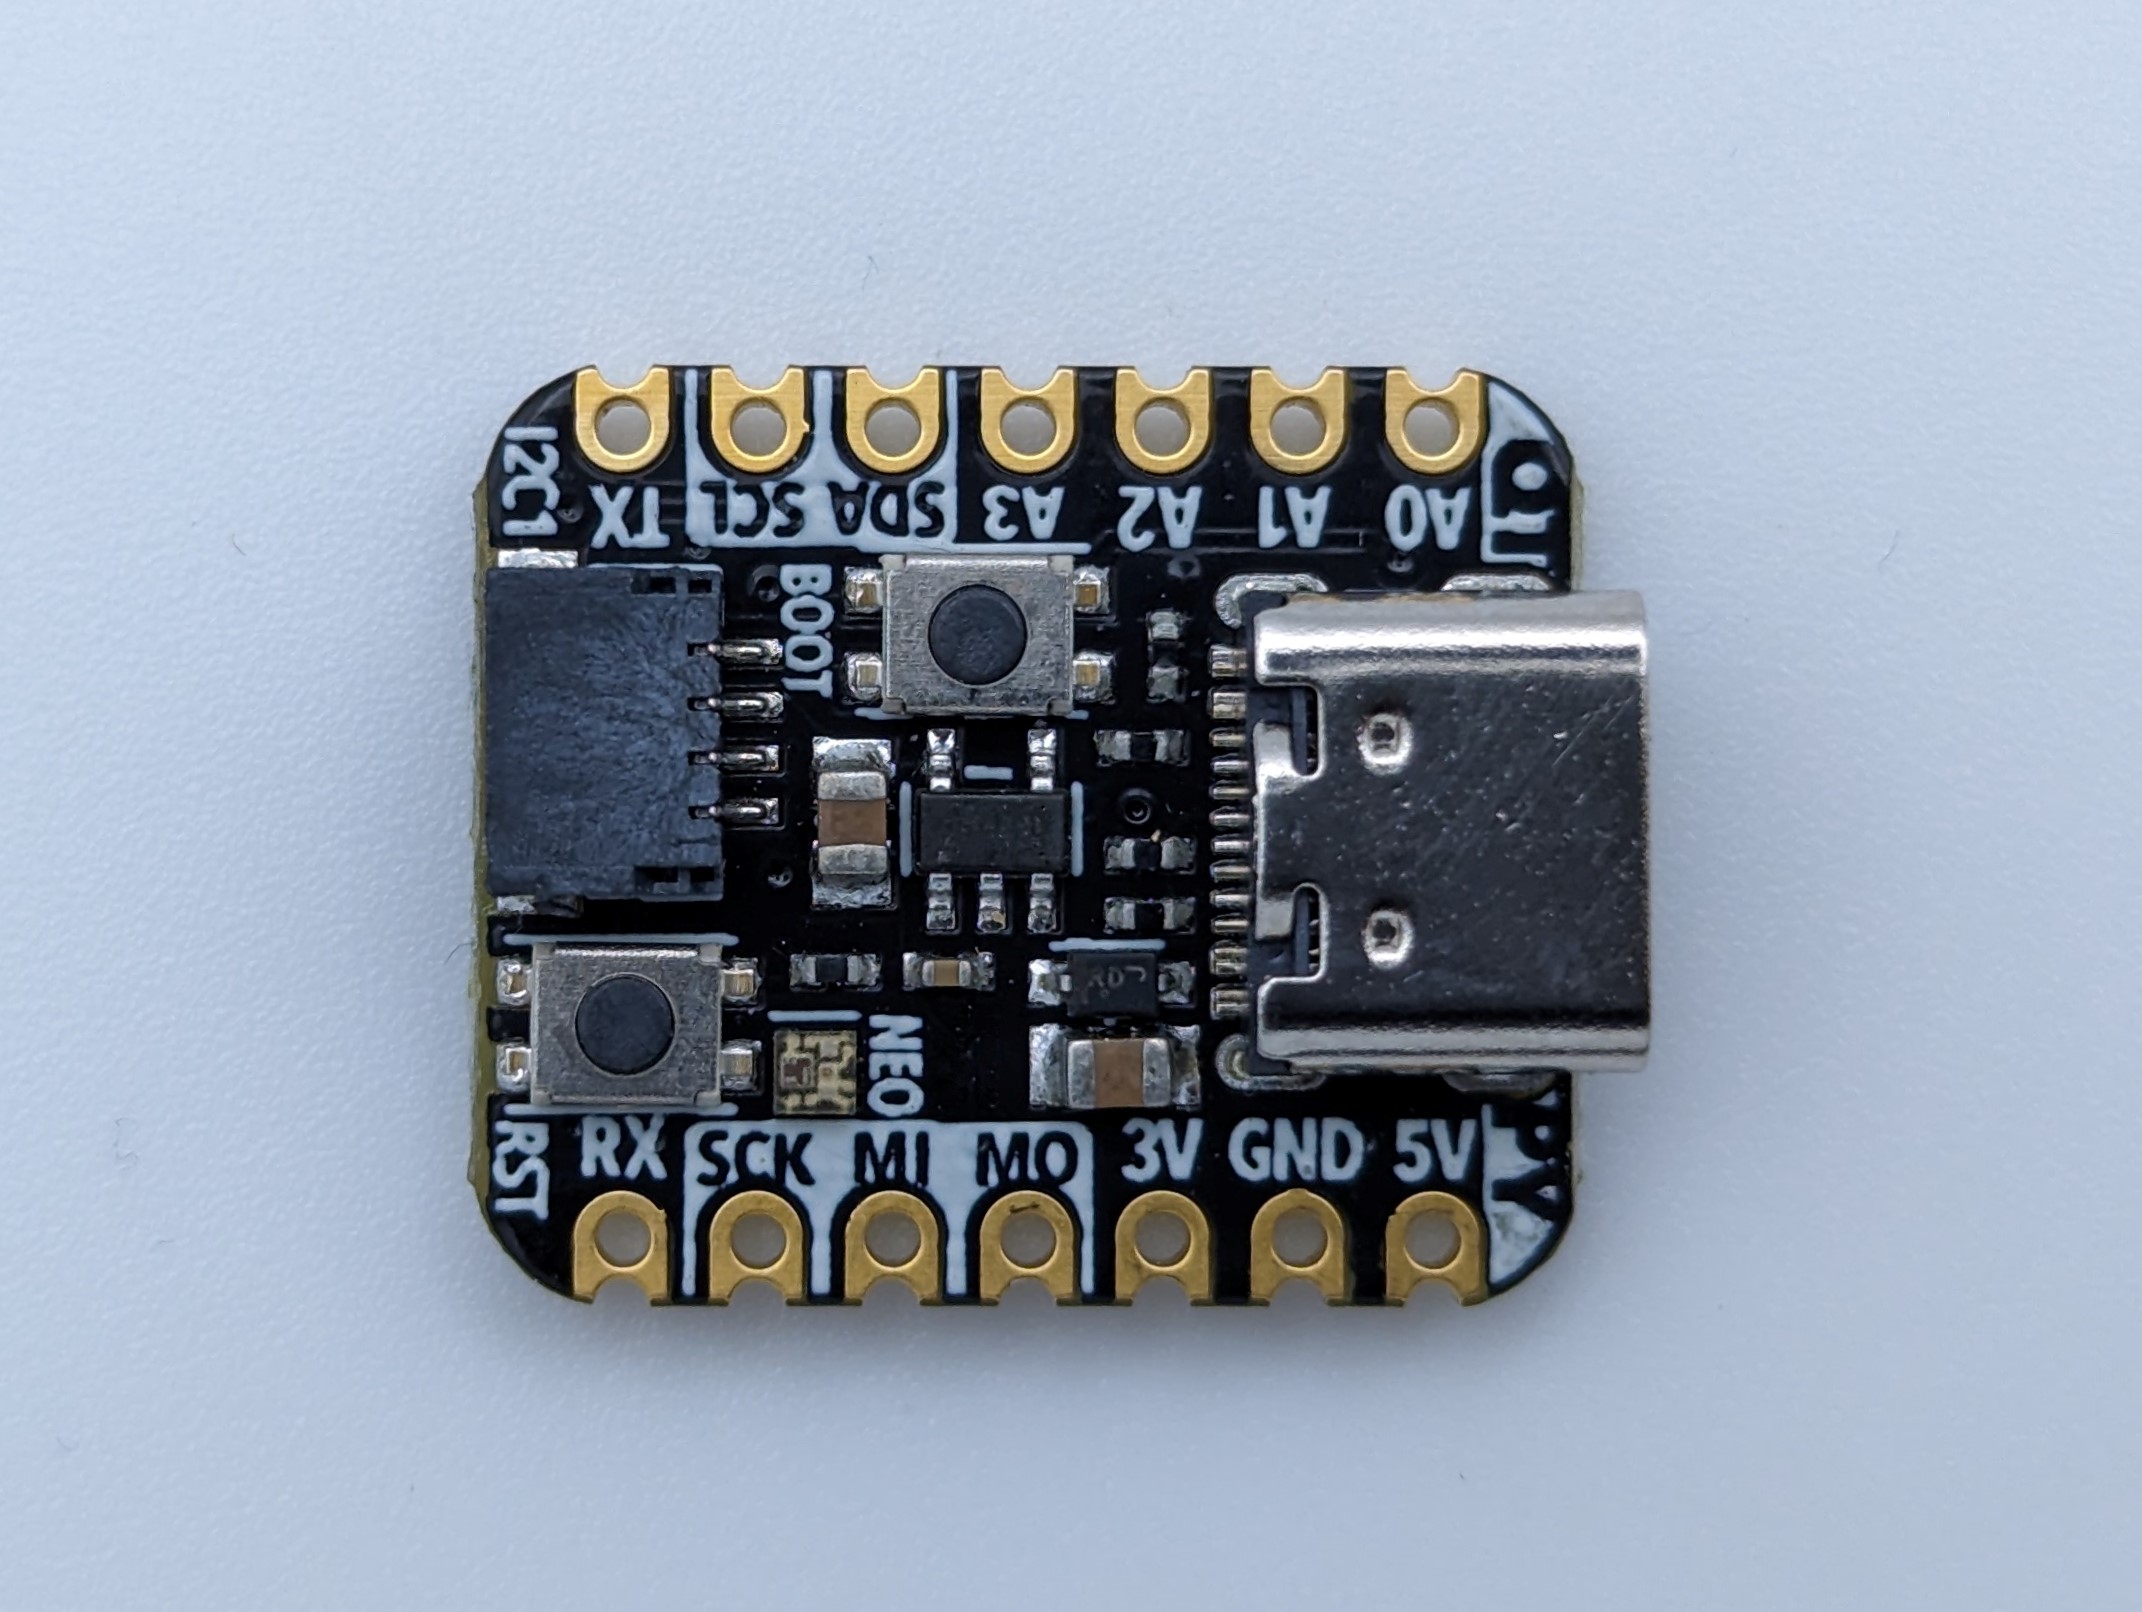
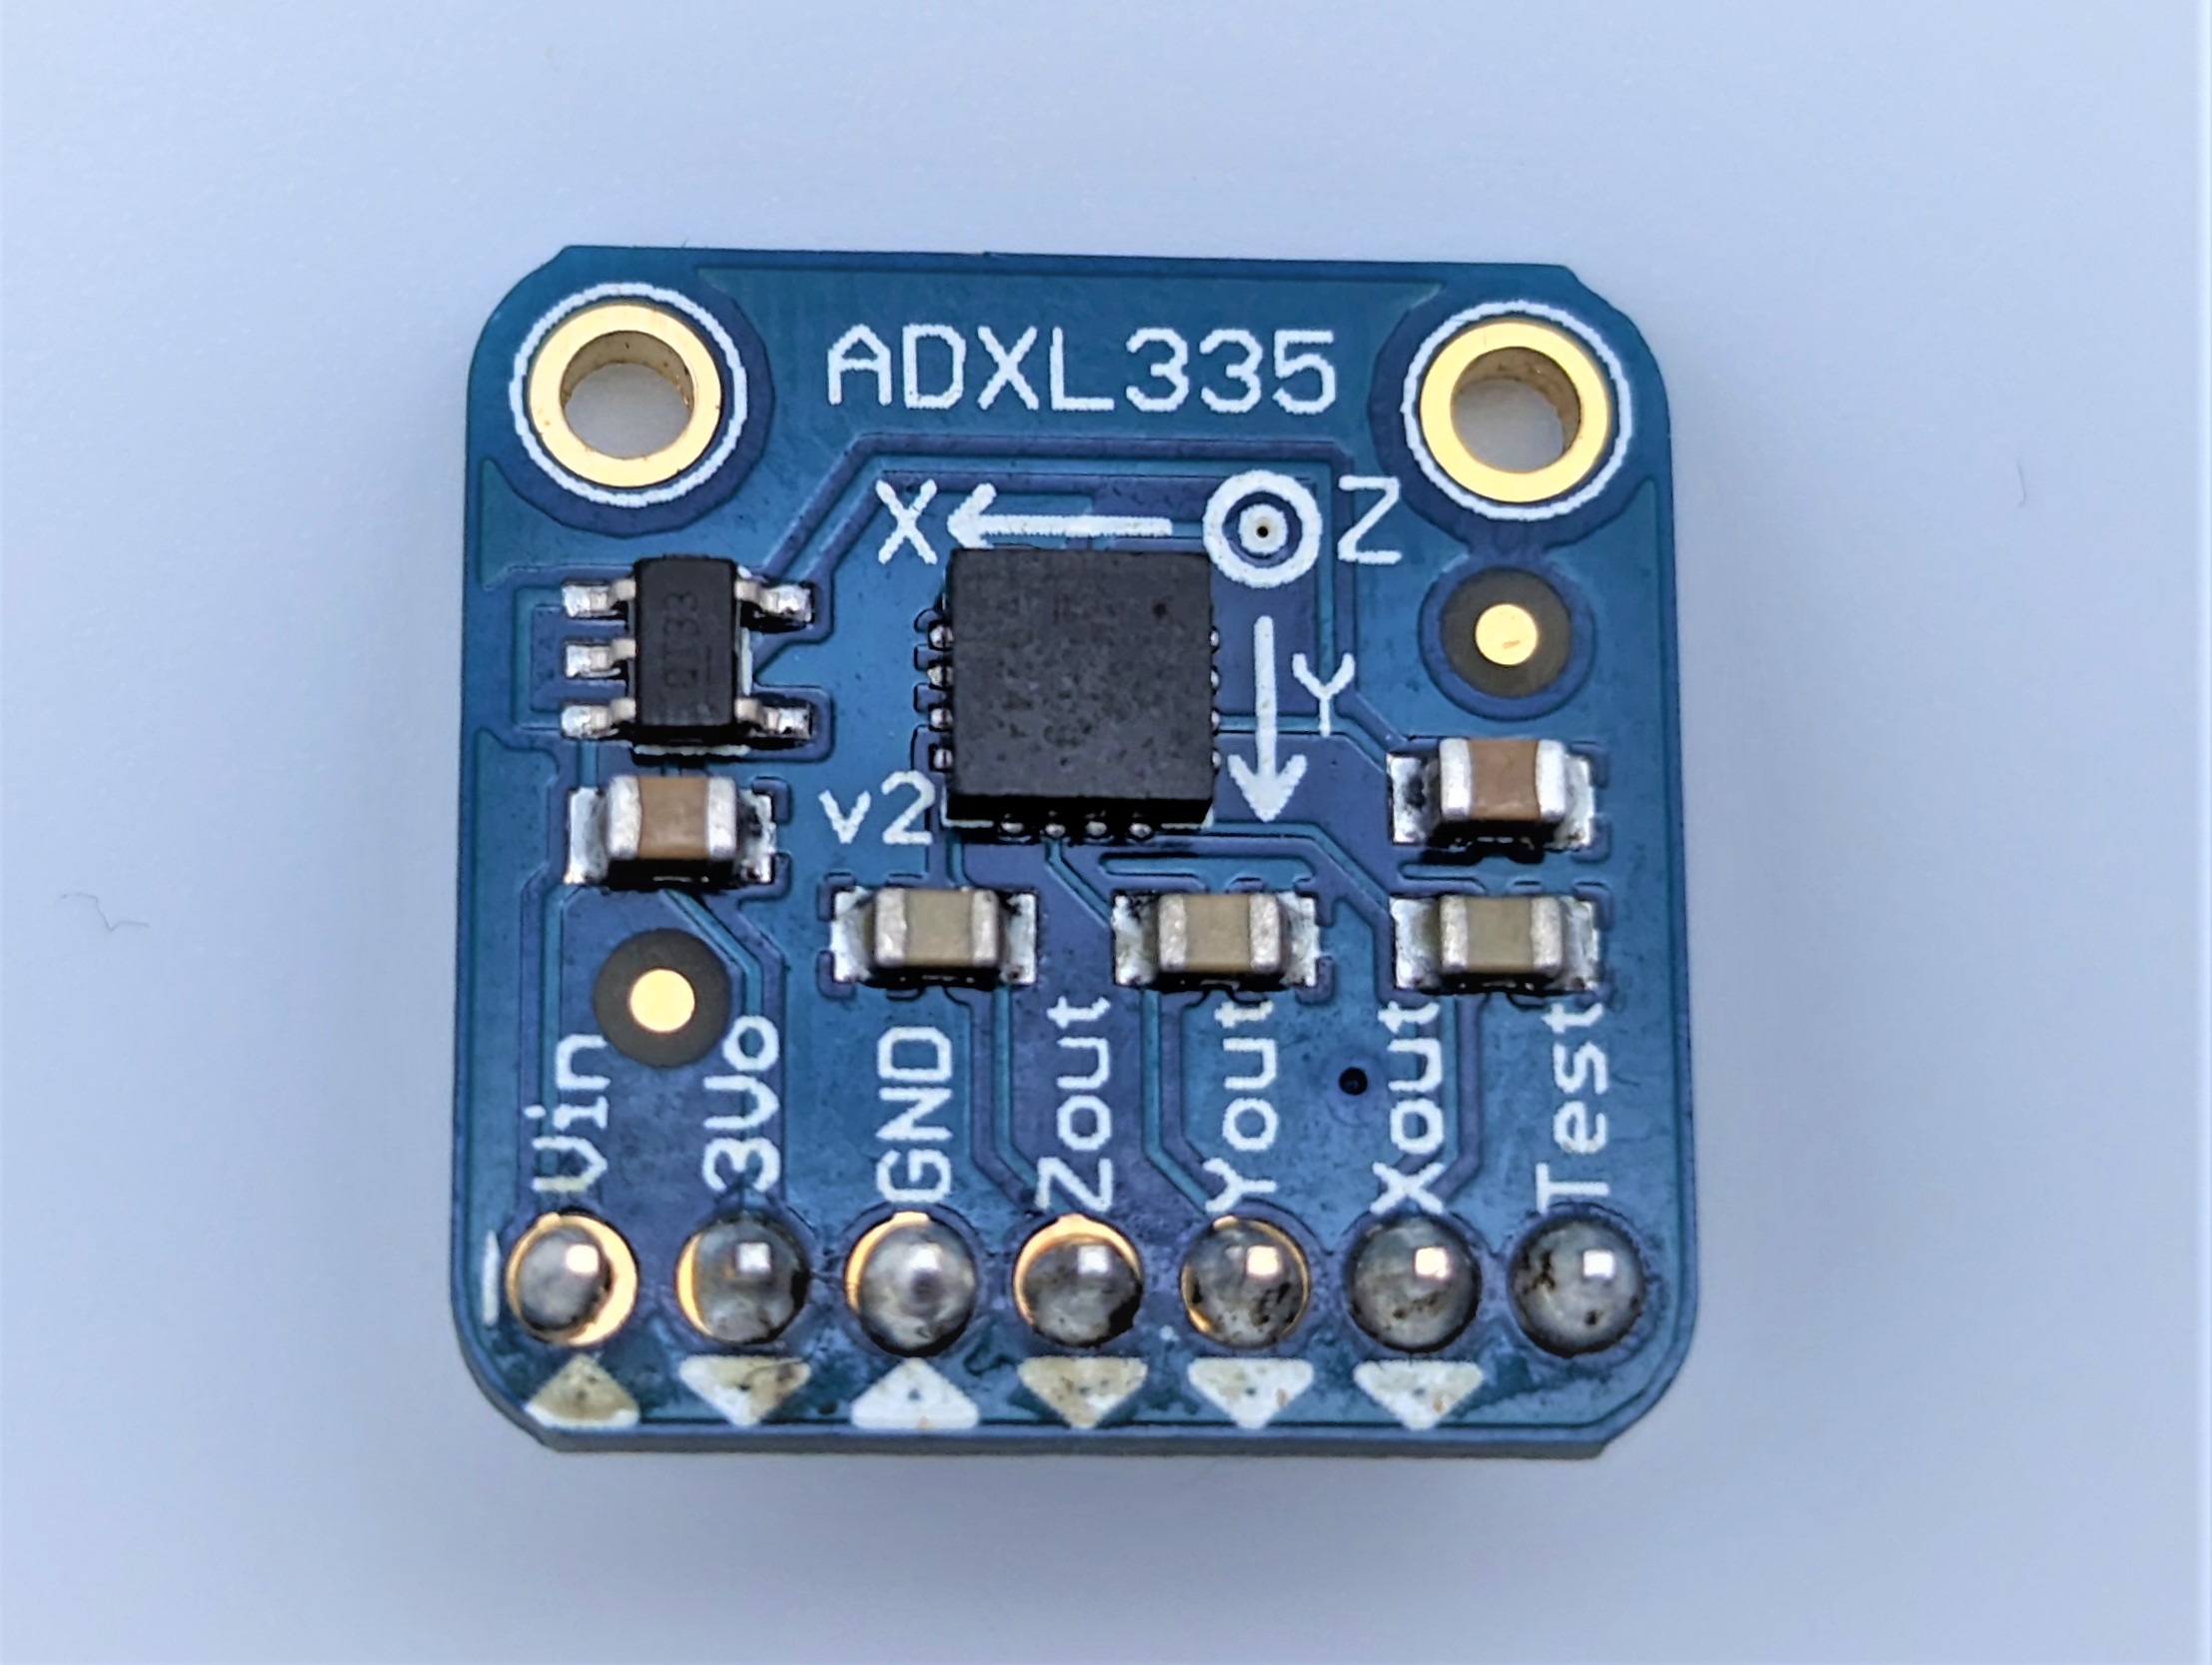
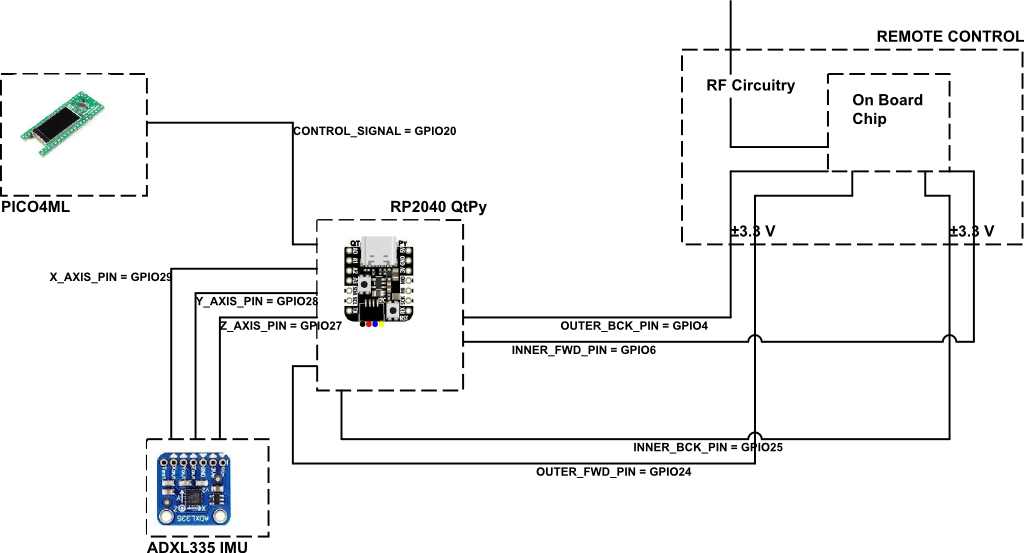
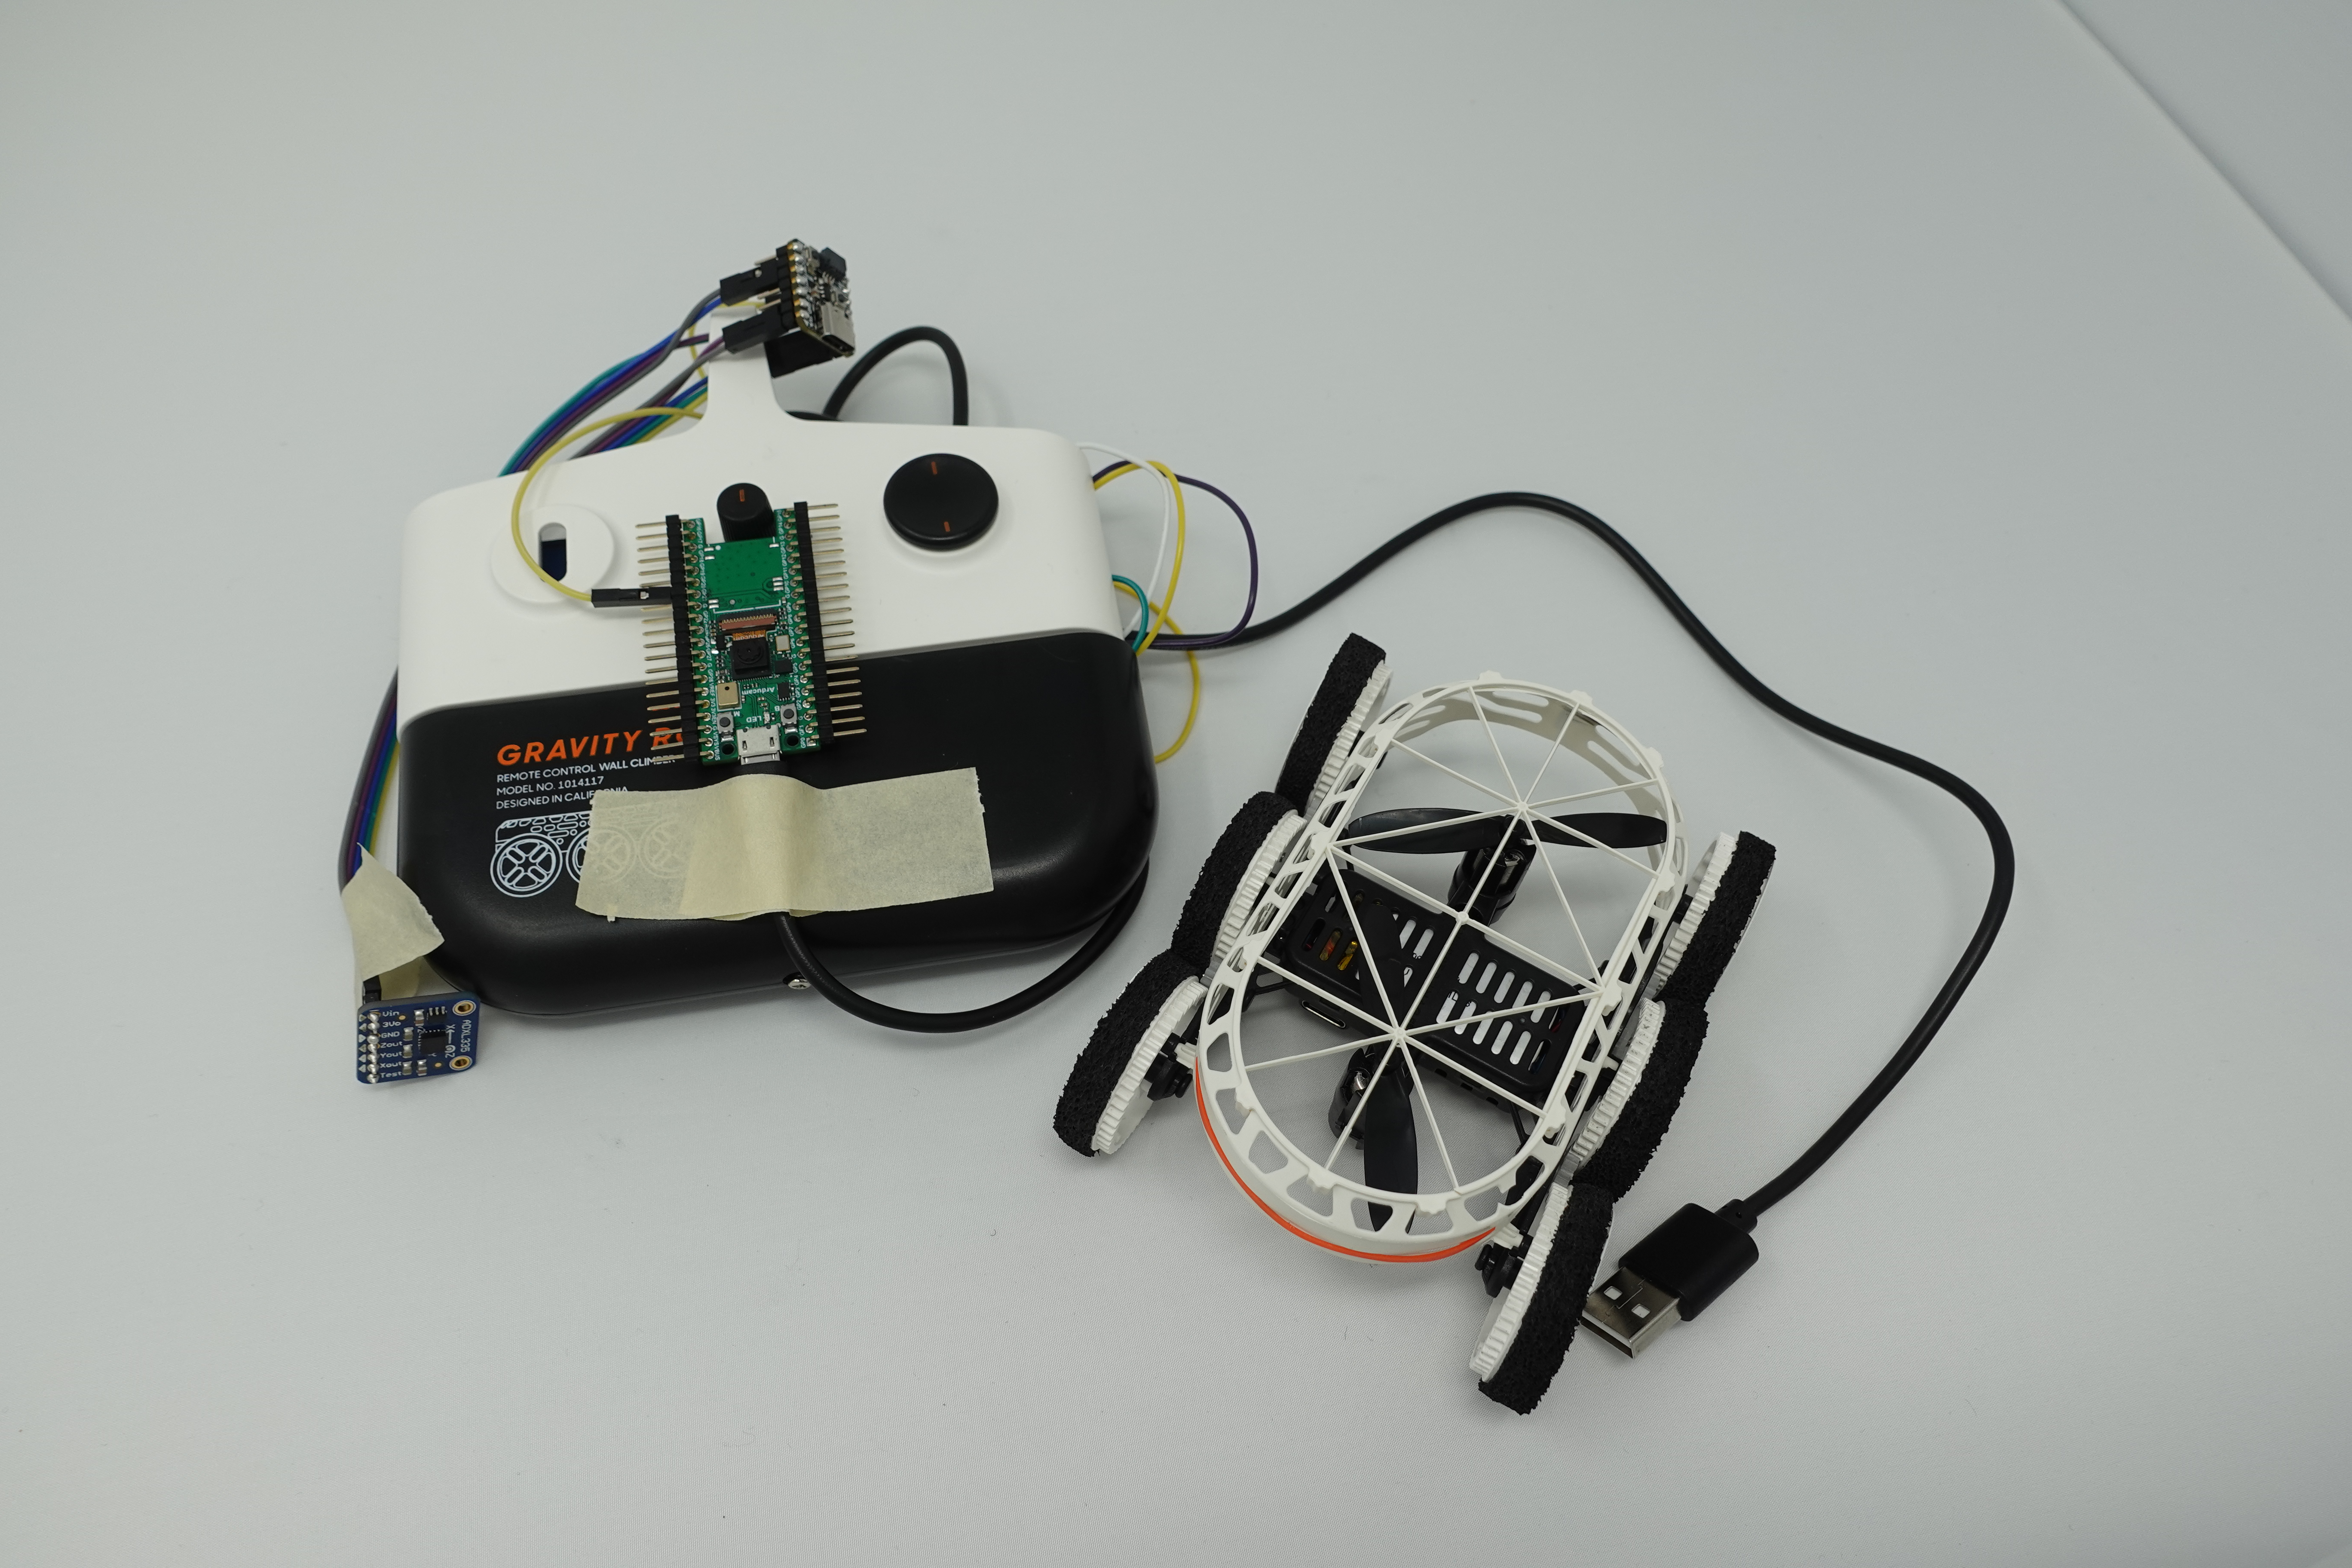
Since no sensors can mounted on the car , it was difficult to track the position of the car itself. Thus, an alternative approach was used in which the IMU is mounted on the remote control. To effectively judge the direction of gesture being performed, the current position is stored in a temporary variable and based on the difference between new and old coordinates along a particular axis, the intended motion is judged.
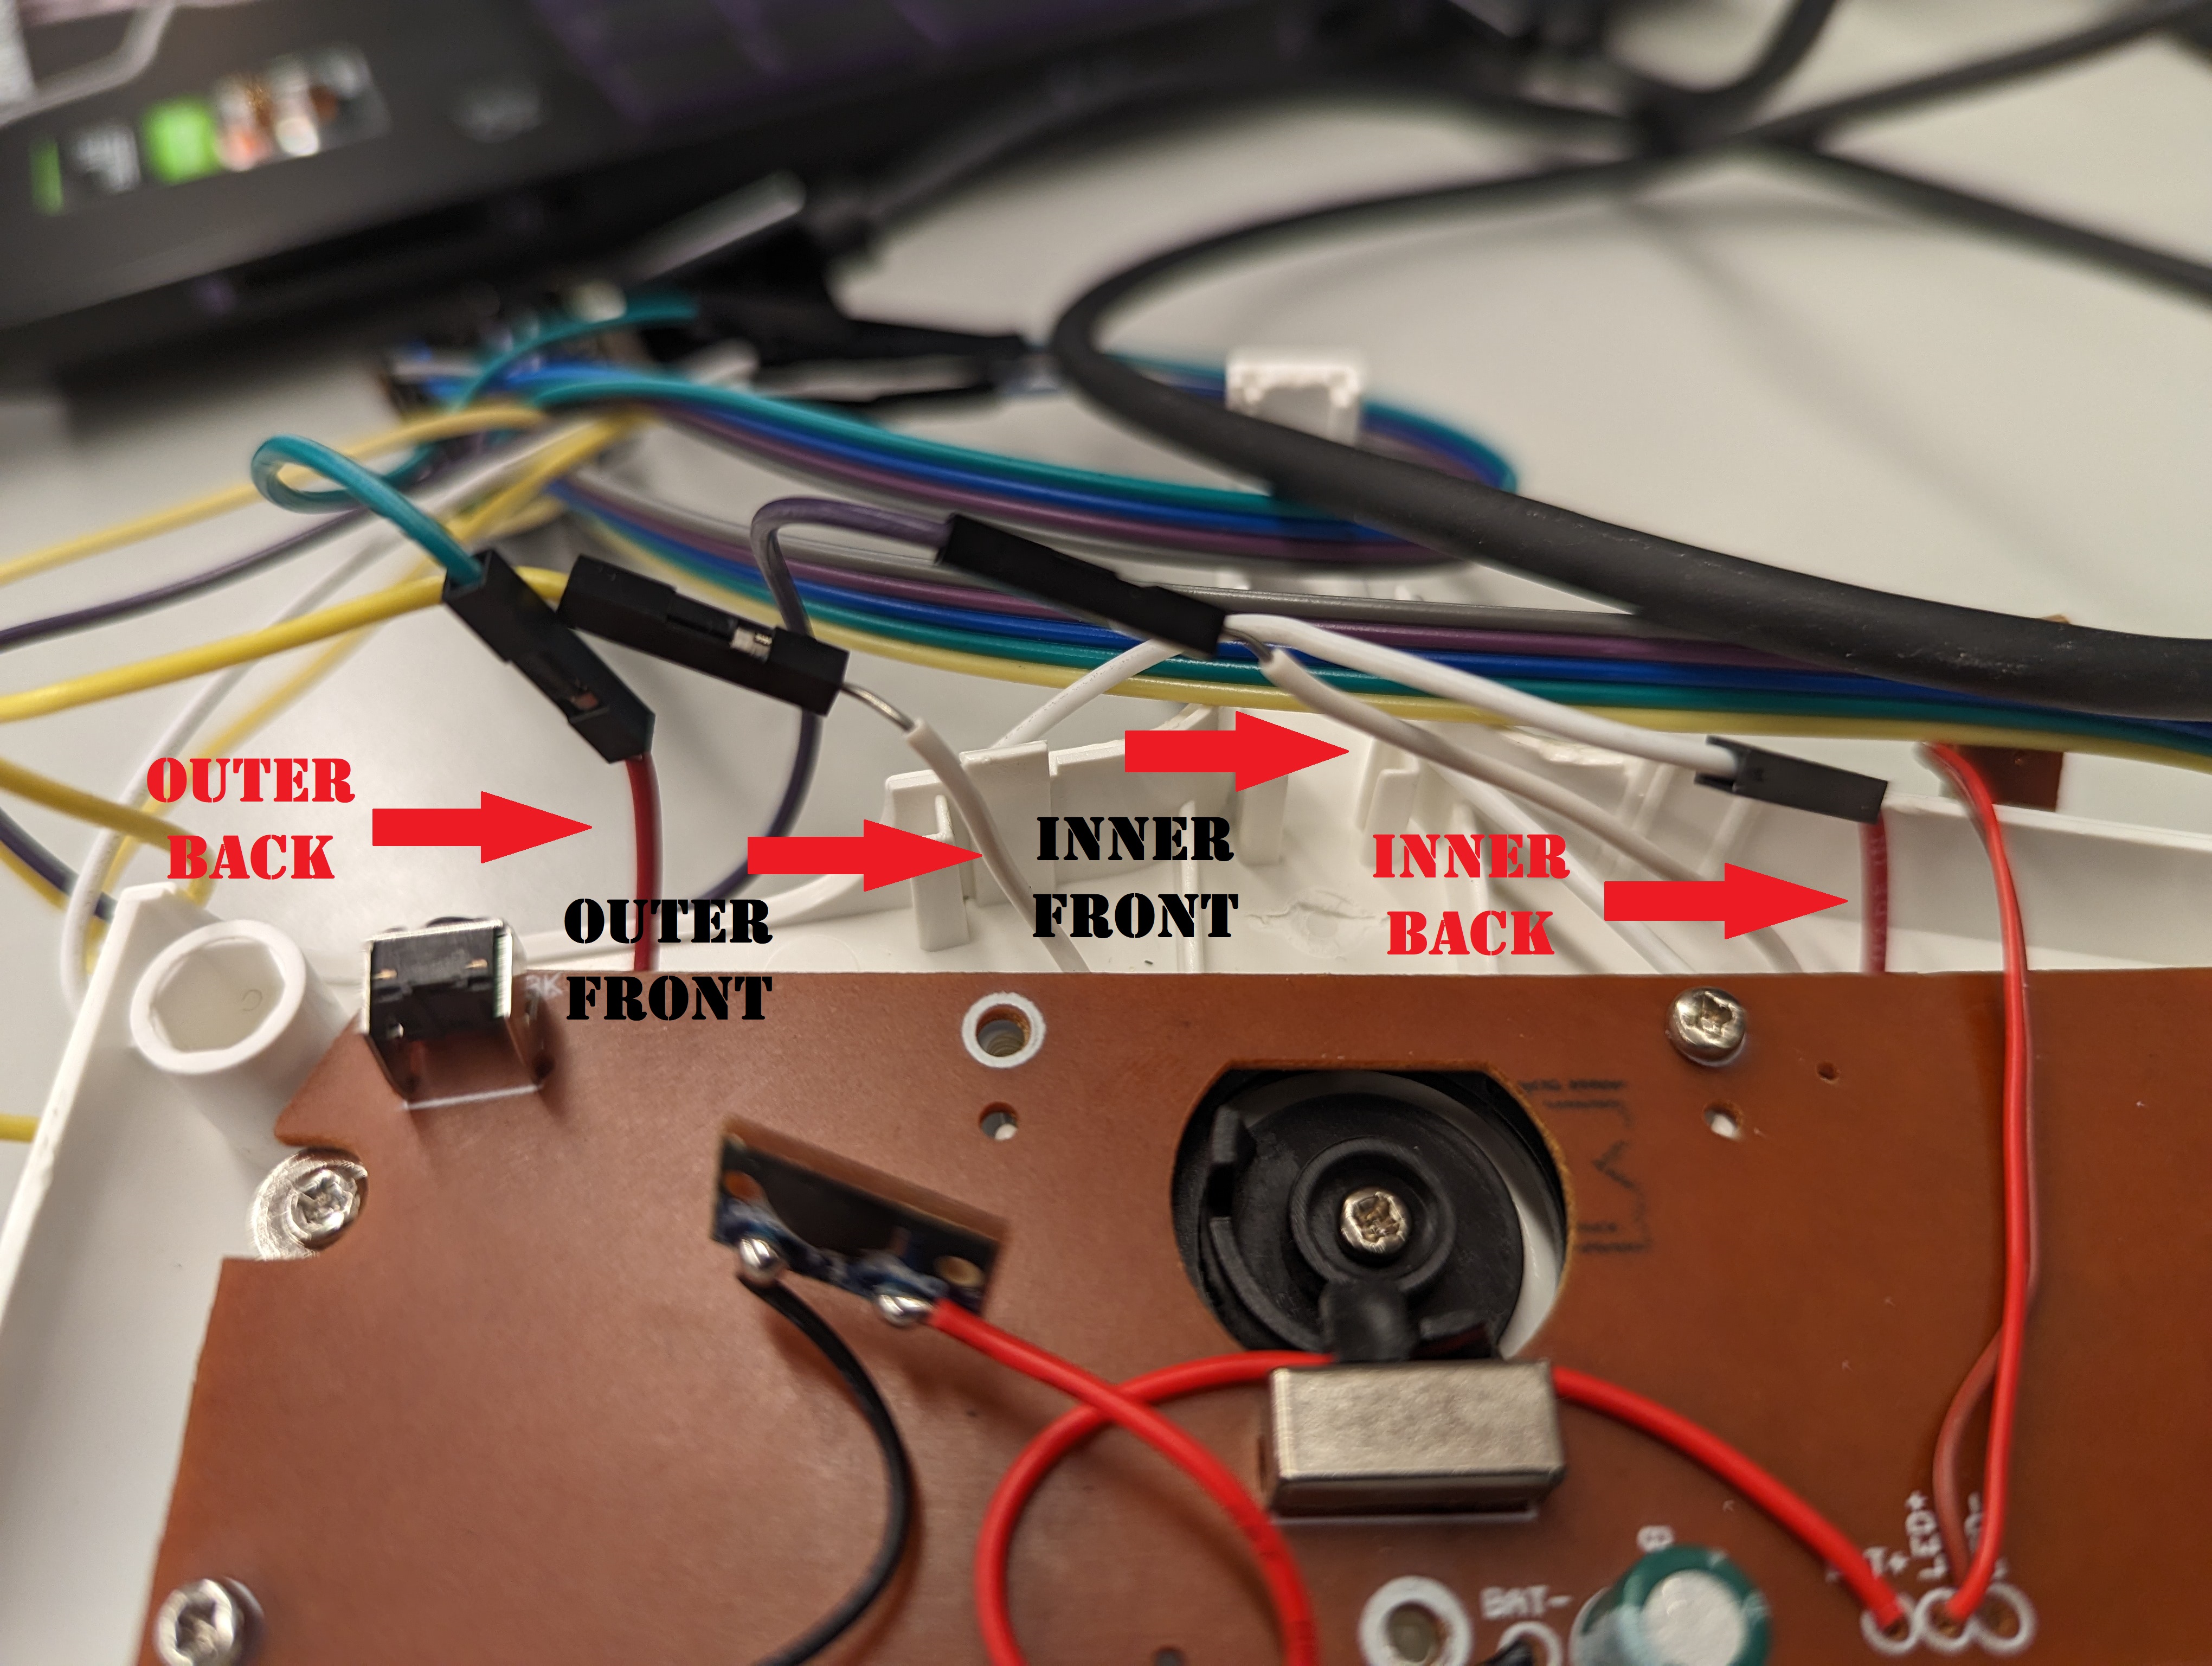
The challenge is to develop dual mode of operation using the same microcontroller. The functionality was divided into 2 parts: control using laptop keyboard and through standalone gesture based RC remote control.
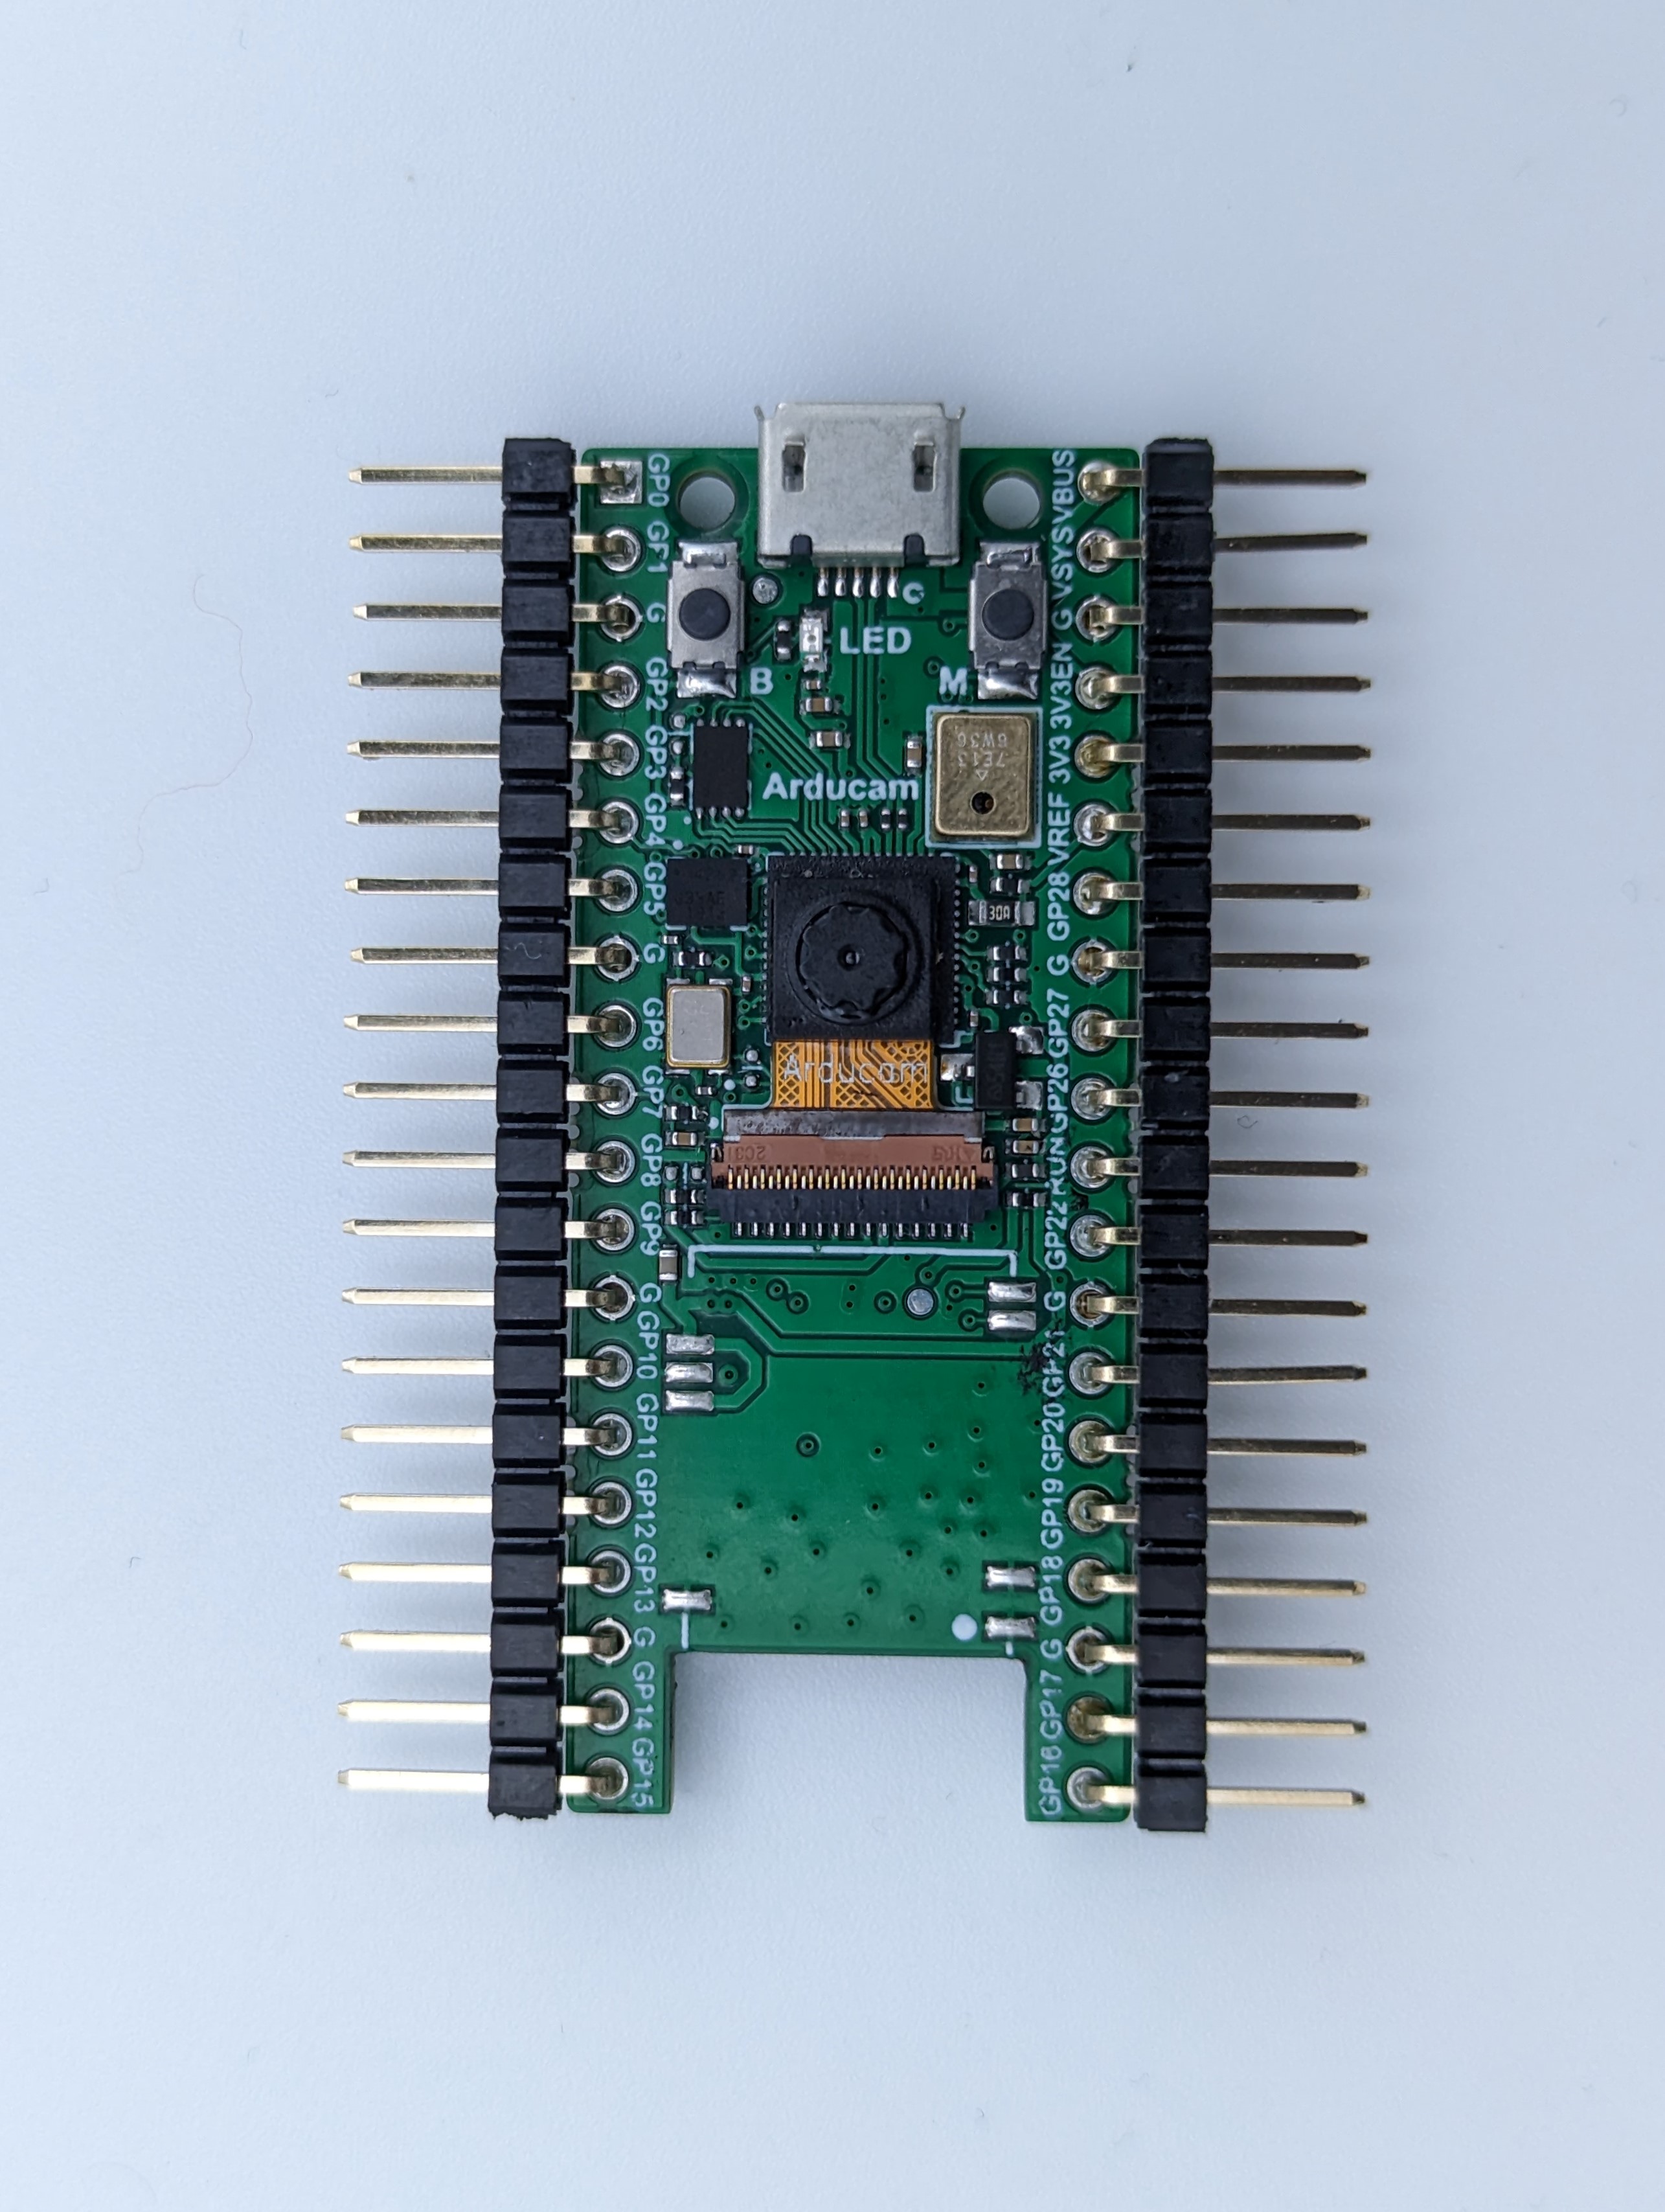
Human detecton based power on capability was one of the feature envisioned for the project. The objective is to use PICO4ML board's baked in face detection libraries to generate a toggle signal that is recieved by RP2040 Qtpy and start or stop functionlity.

Development and Implementation

  • keyboard_alt  Keyboard Hijack

    To implement the functionality with keyboard, we estabilish the USB serial communication between laptop and RP2040 QtPy. The code uses the getchar() function to fetch for keypresses. The functions accepts the single character inputs. Based on the input, the code judges between 2 conditions ,forward or backwards and activate the corresponding pins on RP2040 which transfer state to RC circuitry. The pins are defined in the macros of the code. If backward motion is required, the RP2040 generates a negative potential on both the pins of RC circuitry to mimic button inputs. Similarly, a positive potential is generated for forward motion. The wires attached to the remote are color coded, with red for outer backward and inner backward wheel motion and white for outer forward and inner forward wheel motion. The circuit works on discrete values rather than ona range, thus speed control is not a feature of the original product as well as our implementation.

  • waving_hand  Gesture Edition

    To implement gesture recognition functionality, we use a 3- axis IMU and coordinate geometery. Intially to calibrate IMU and establish the origin, the sensor is held in one orientation. The values of the sensor is printed on the serial console. Next, many hand gestures are done to see the deviation in values of the axis given by the sensor. Based on these deviations, the conditions to recognise left, right, front and back conditions are determined in terms of positive and negative deviation. To implement the logic, first 3 temperory variables are declared and initialised to 0. At the start of the loop, current coordinates of the sensor is read. These are subtracted from the 3 temp variable for each axis which is 0 for first iteration. Now we have positive or negative deviation along each axis. These values are used to toggle specific pins on RP2040 which in turn sends the corresponding voltage potential to the RC circuitry and thus desired motion is achieved.
  • person_search  The Face Detector

    To implement the ability for our system to detect a person, we used Pico4ML board which dons an onboard ArduCam camera module which is capable of taking 2 MP images. These images are fed to the RaspberryPi Pico, which serves as the heart of this board too, via SPI. This image is then converted to grayscale for lesser channels (As RGB has 3 channels) and fed to the TFLite model. The TFLite model for person detection is a portable, light weight version of the person detection model trained using TensorFlow 2 over a full-fledged dataset called the COCO dataset. The architecture is rather simple, consisting of convolutional layers with maxpooling and finally passed over 3 fully connected dense layers with ReLu activation. The TFLite conversion reduces the computation as it saves the weights and thus helps in enabling a low resource hardware to run such a heavy task. Upon detection of a person over a certain threshold, we generate a PIO out control signal from the Pico4ML board which signals the QtPy to enable the IMU and direct the car towards the intended target (here, the detected person).
  • electric_car  The Integrated System
    The incoming_signal toggle coming from PICO4ML board is a blocking statement for the functionality of our RP2040 QtPy which controls the RC circuitry of the remote control. Thus, to free up the processor, this control signal is fetched through PIO instead of the normal GPIO and directly used in the program.
    1. The in() function in pio_assembly fetches data from the specifeid pin in the main program and pusshes the data into the ISR 32 bits at time. Since, we are working in boolean input, we populate the entire register with same value.
    2. Although the value of control is being used one, the data is being read continously incase user wants an active person detection ON/OFF functionality, meaning , the remote is on only for the time a face is bein detected.
    3. There is also the C - helper function, which links our .pio file to the main C code.


    A demonstation of all the components working together.

The Code

  • code The Keyboard Control Code
  • code The Gesture Control Code
  • code The Face Detection Code
  • code The PIO Code

Final Product

The Team

Prateek Bashista

Joyendra Roy Biswas